Deepnode switchface custom changing area tutorial
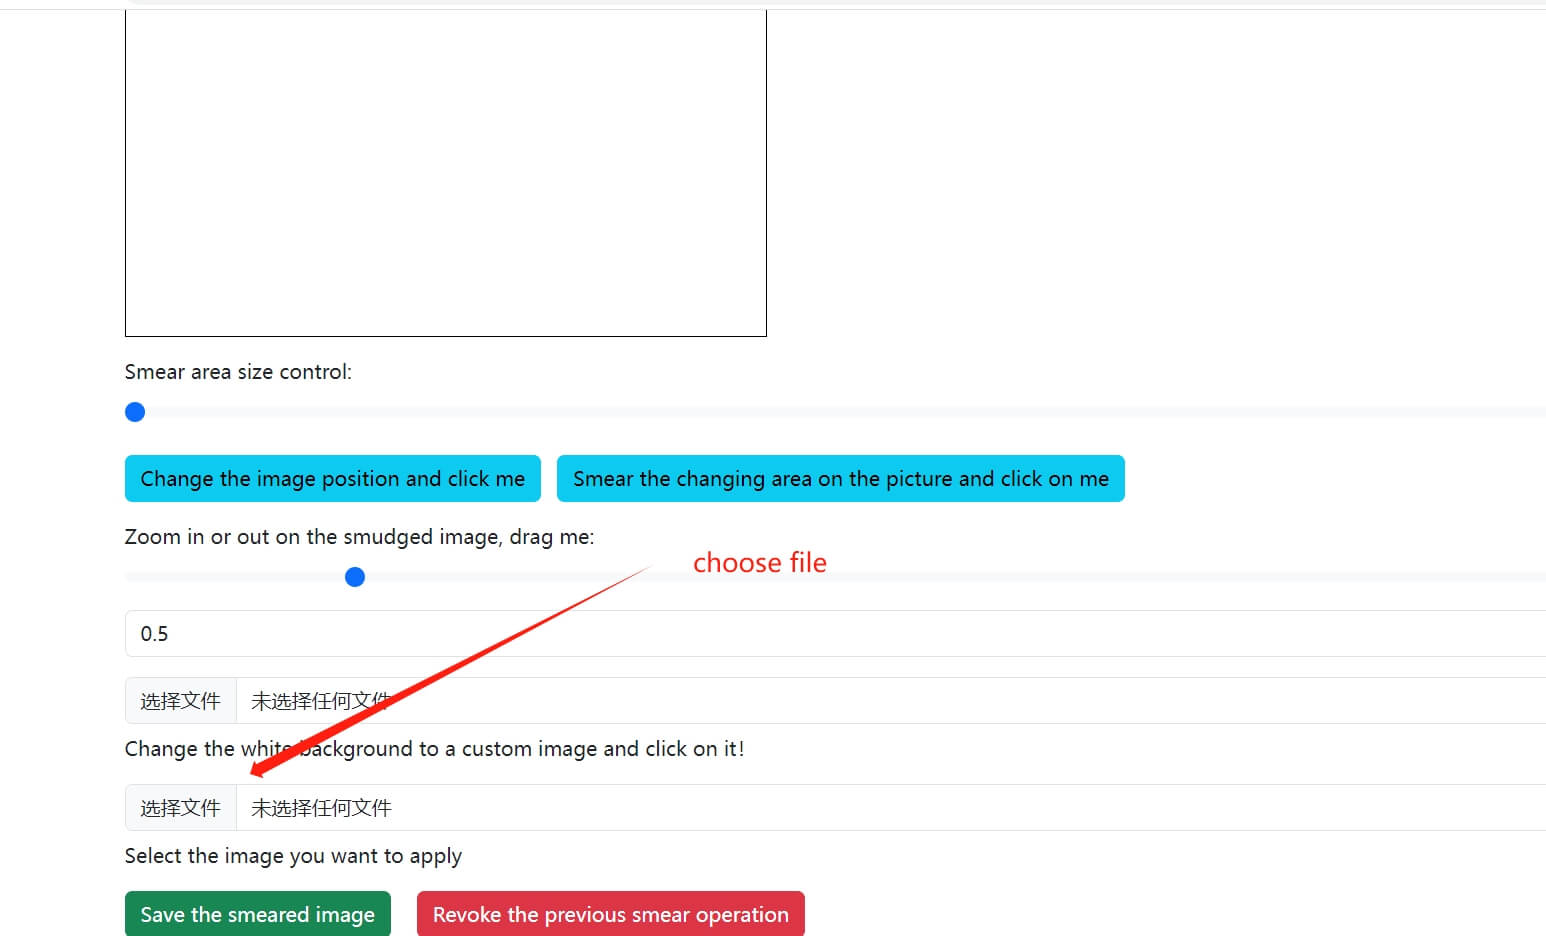
1.Let's first click on the "Select File" button above the image you want to apply
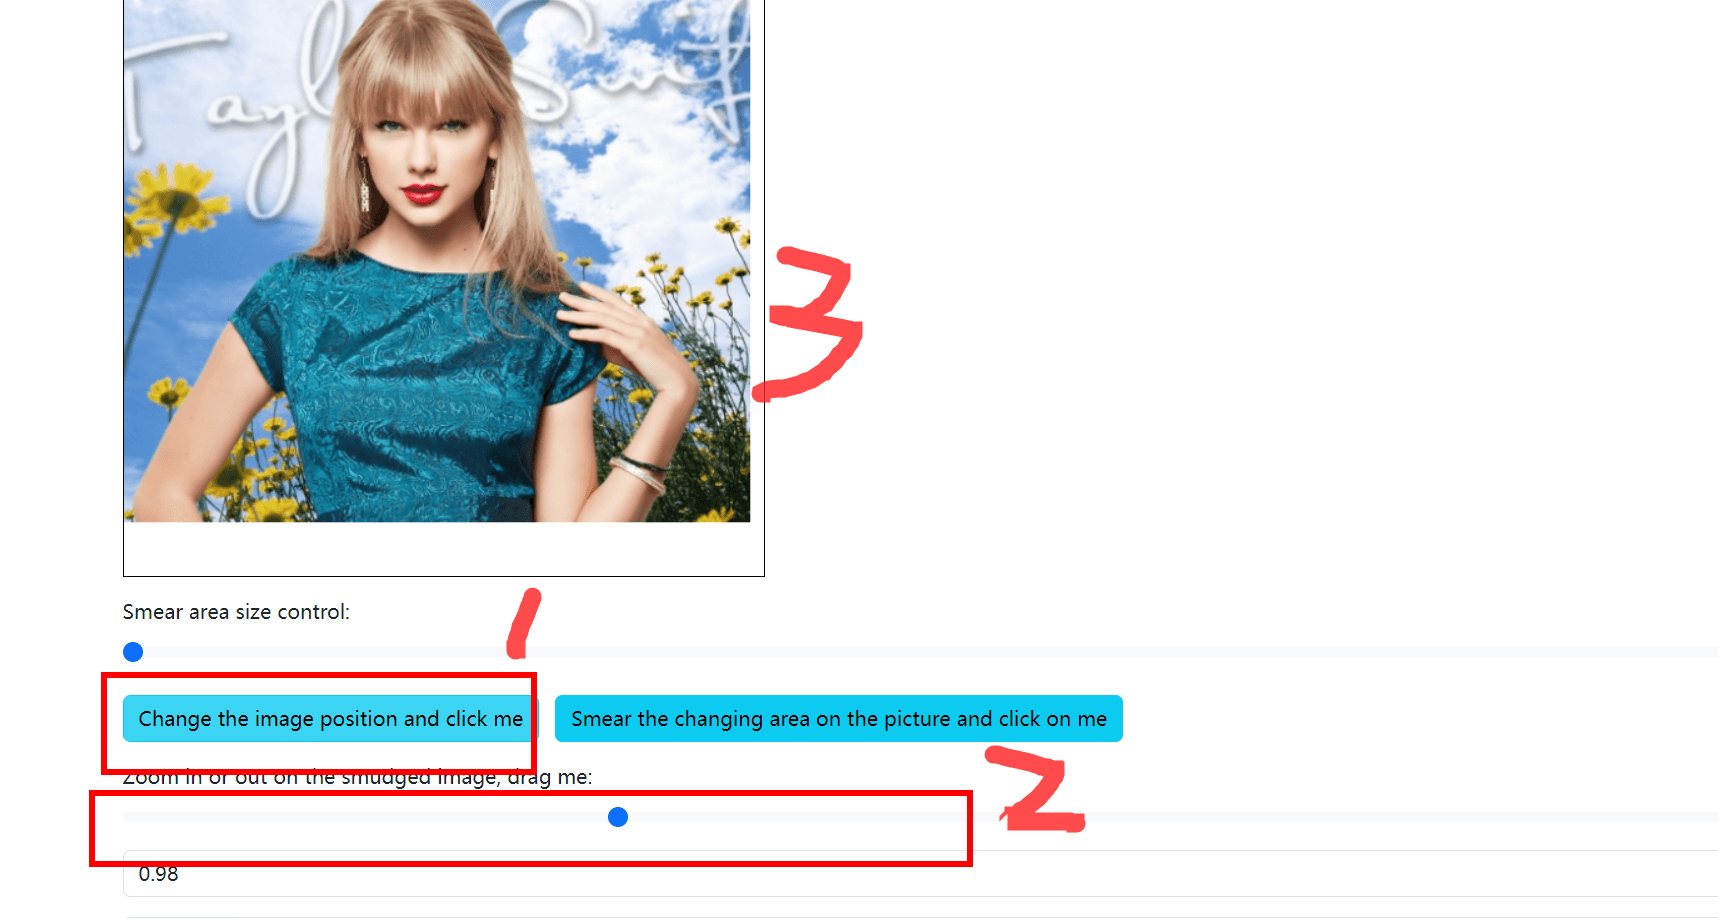
2.Click on the "Change Image Position Click Me" button to start changing the image position.
Then, in the second step, drag "Zoom in/out to smear the image, drag me" to start controlling the image size
Step 3: Drag the image to a suitable location with the mouse
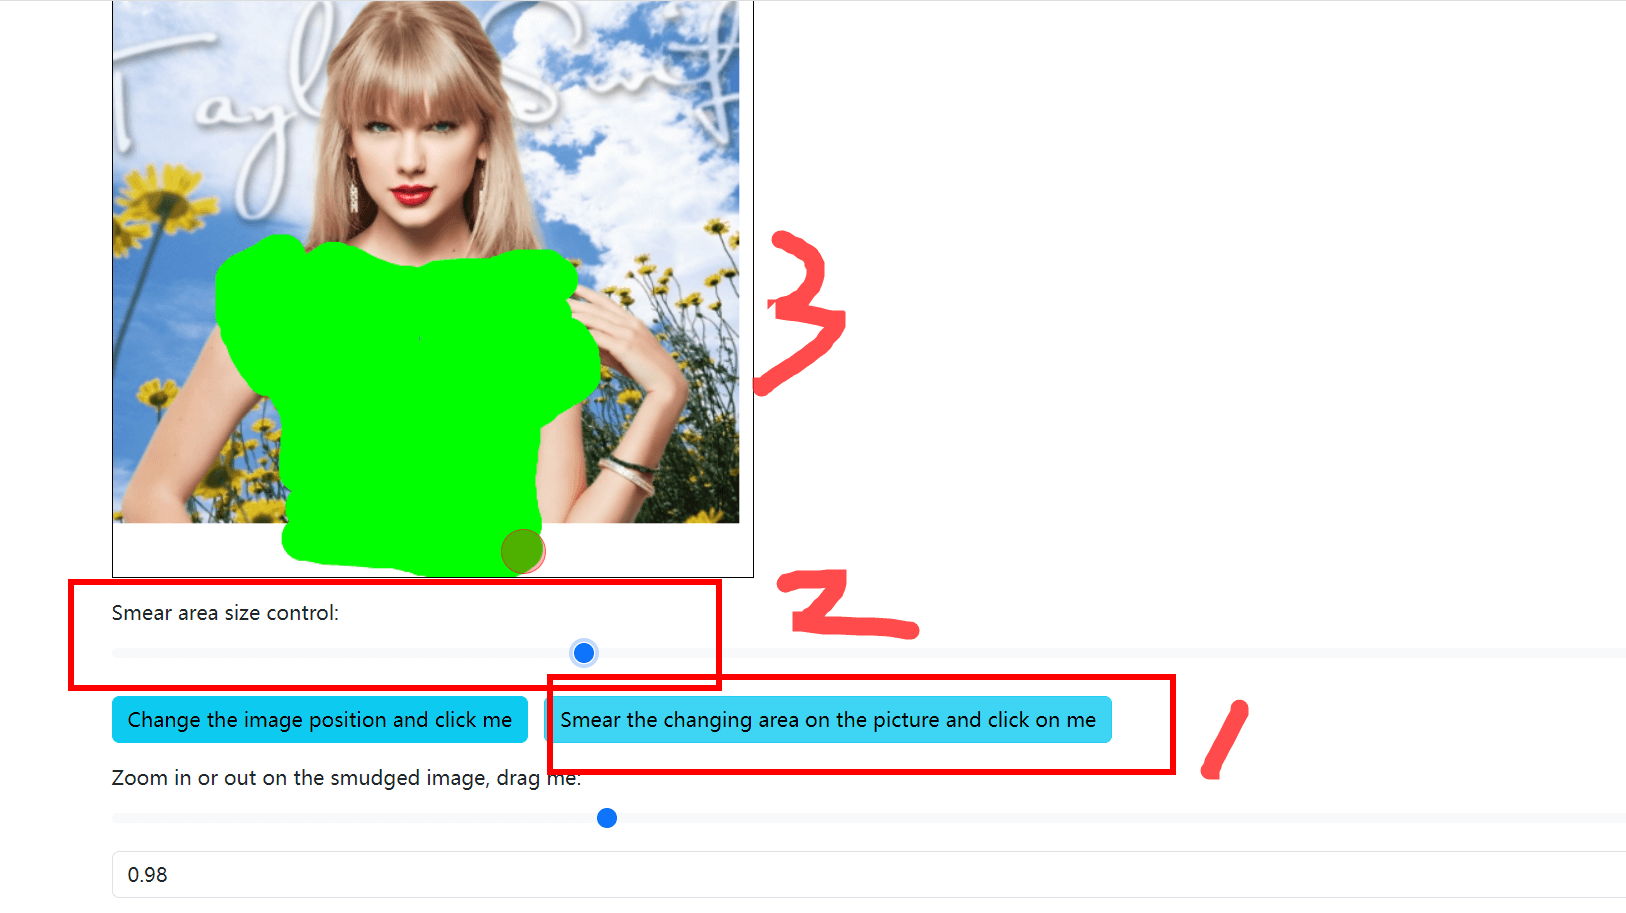
3.Click on the 'Apply changing area to image and click on me' button
Then, the second step is to select "Smear Area Size Control" and choose an appropriate brush size to apply the target image
Step 3: Use the mouse to apply a green changing area to the clothing section on the target image
(Green RGB (0.255.0), this green is something similar to a green screen, and any areas painted with green will regenerate new content, such as generating a body.). The green color used is the green color of RGB (0.255.0), which is not found in nature. Therefore, the green color of this color indicates to the machine that this part needs to be processed
4. Click the "Save Painted Image" button,
Then, the second step is to find the smudged image saved in the browser, and then
Step 3: Click "Click here! Go to Telegram to change clothes now" and go to the robot's place to start changing clothes
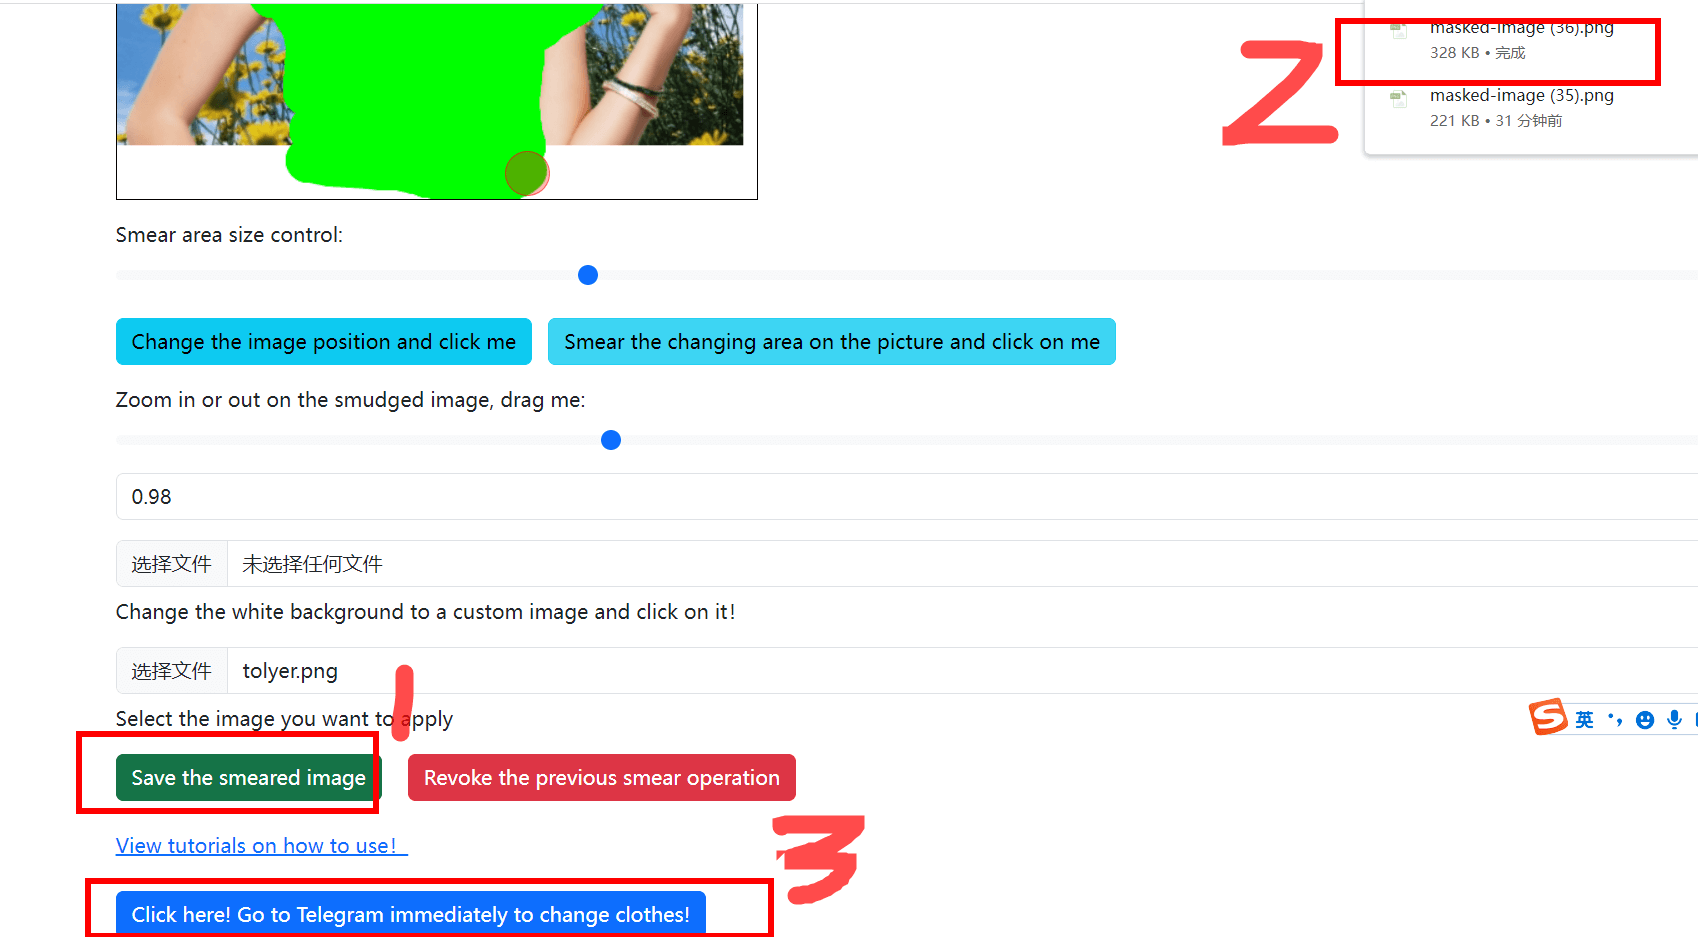
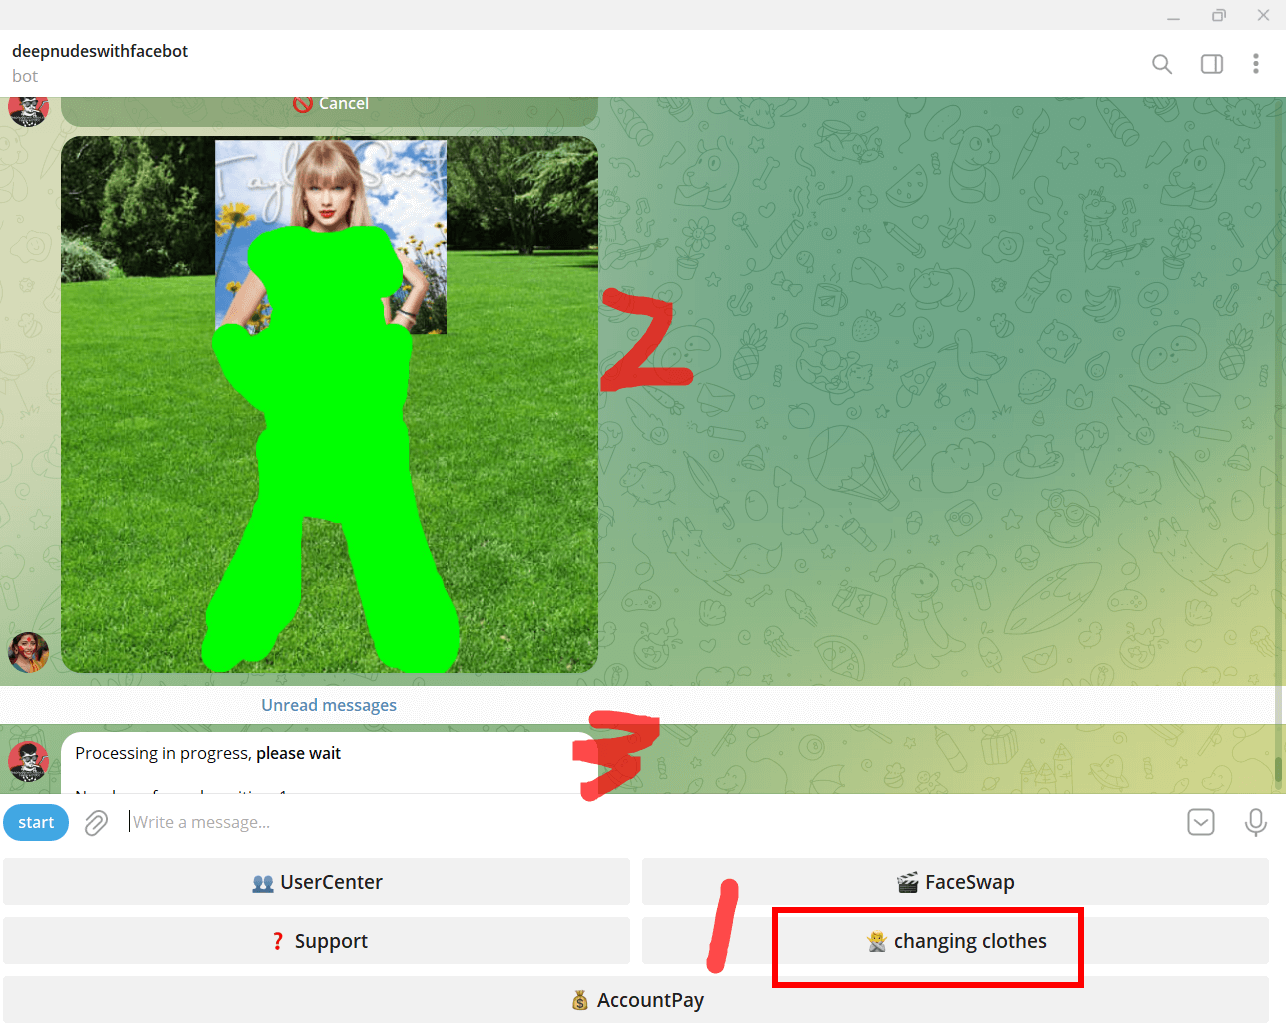
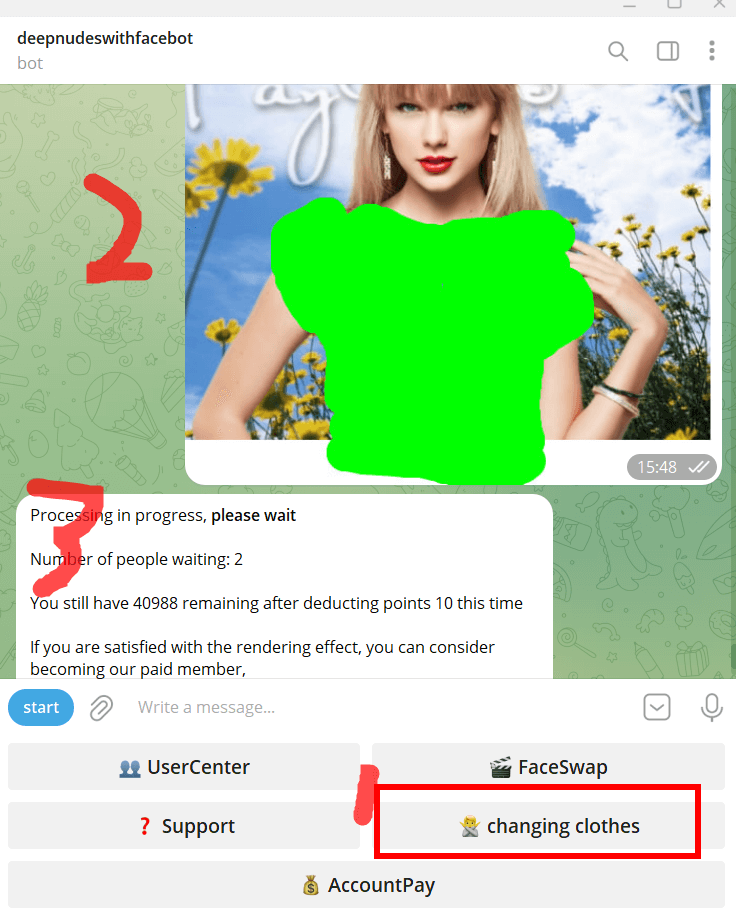
5.Go to the robot page of deepnudeswitchface and click on changing clothes,
Then select the image to change clothes and upload the image that has just been processed,
Here, it is best to upload the processed original image containing green to the robot instead of compressed images transmitted by other chat software, as the machine can only recognize the RGB (0.255.0) green color. If the image is compressed, it will cause the green to become darker or lighter, no longer the original (0.255.0) green color. This will cause confusion when the machine is searching for the green screen area. Therefore, only the original version of the image has the best effect (if possible, the image will be beautiful and beautiful, or if the boss of PS directly applies the image with the same effect, but ensure that the green color is (0,255,0), and the machine can recognize it correctly!
What are the benefits of customization?
At present, problems such as facial obstruction by mobile phones, multiple people in the image, and strange postures in robots can lead to unsatisfactory image production, mainly because the machine is identifying where the problem is with clothing!
By customizing the changing area, you can directly inform AI of the clothes to be processed,
Then AI will only handle the green area, and other areas will not change,
Therefore, based on human eye judgment, accurately locate the clothing part and apply it
Can effectively assist AI in identifying the parts to be processed
(The green area is the green screen, and everything in the green area will be replaced, so let Ai help you "brain repair" what exactly is the blocked area!)
Through your manual guidance, AI can help you generate 100% detailed restored images, and the images you see are 100% authentic!
How to Create a Picture of a Brain that Completes the Body in an Advanced Chapter
1.The default background here is white. If you find it monotonous, you can click 'Change the white background to a custom image'
Upload a new background and then upload the avatar that needs to be completed
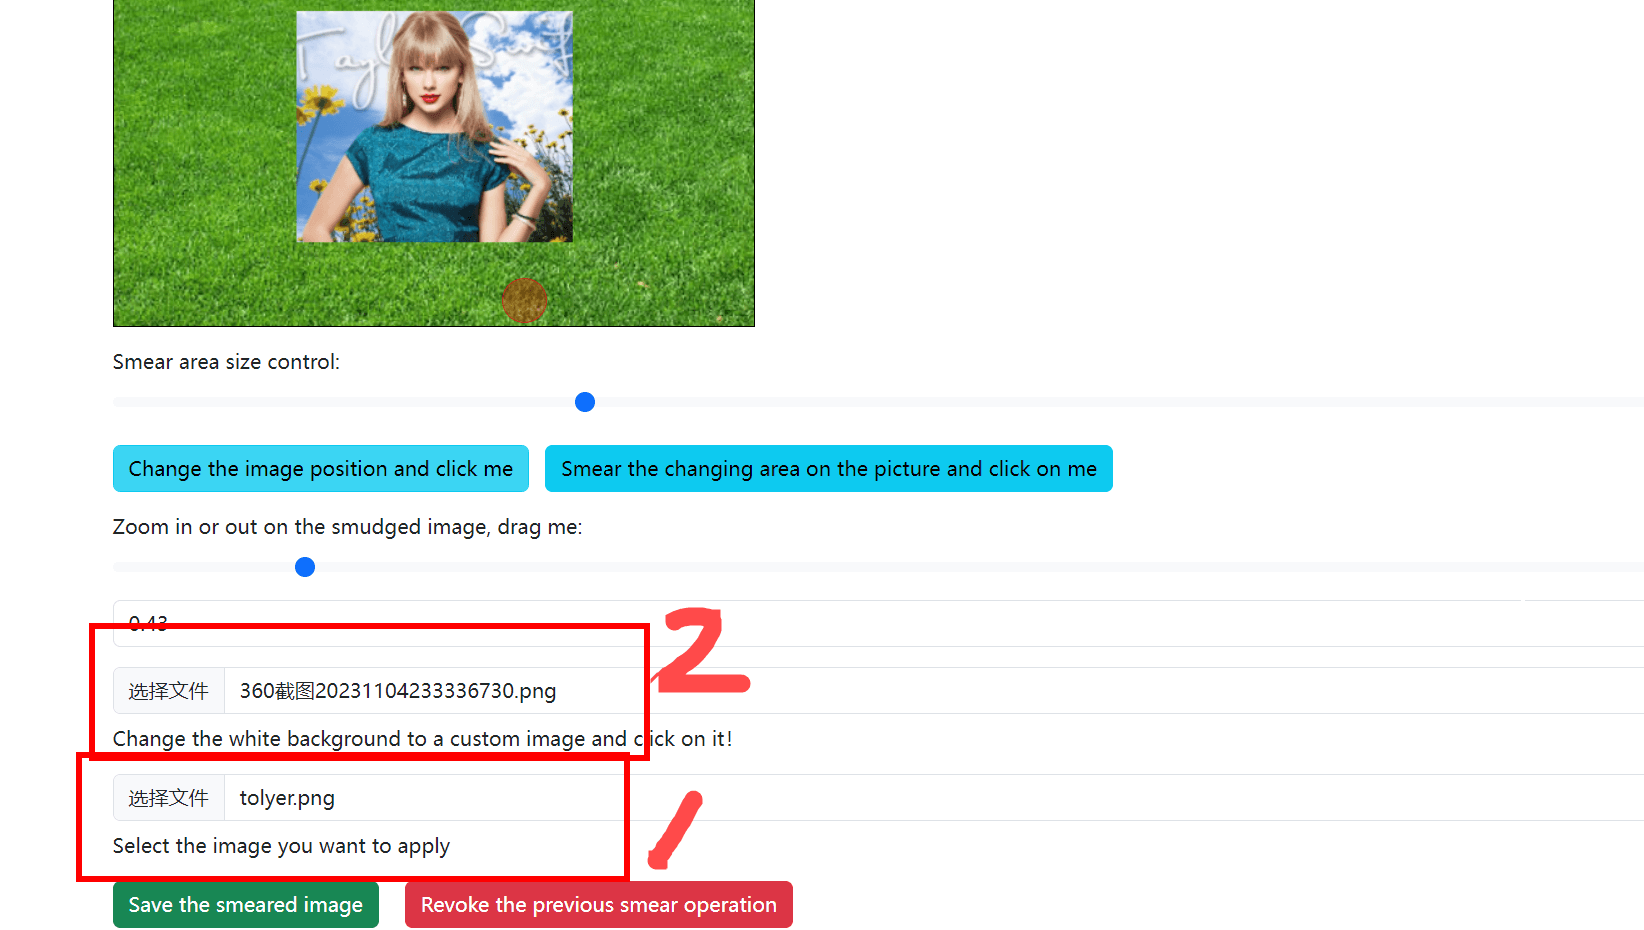
2.Adjust the avatar to the appropriate position
Use a green brush to "draw" a body of a character, roughly in the pose of a character, and then AI will regenerate the entire green area and fill the green part of the brain with a body
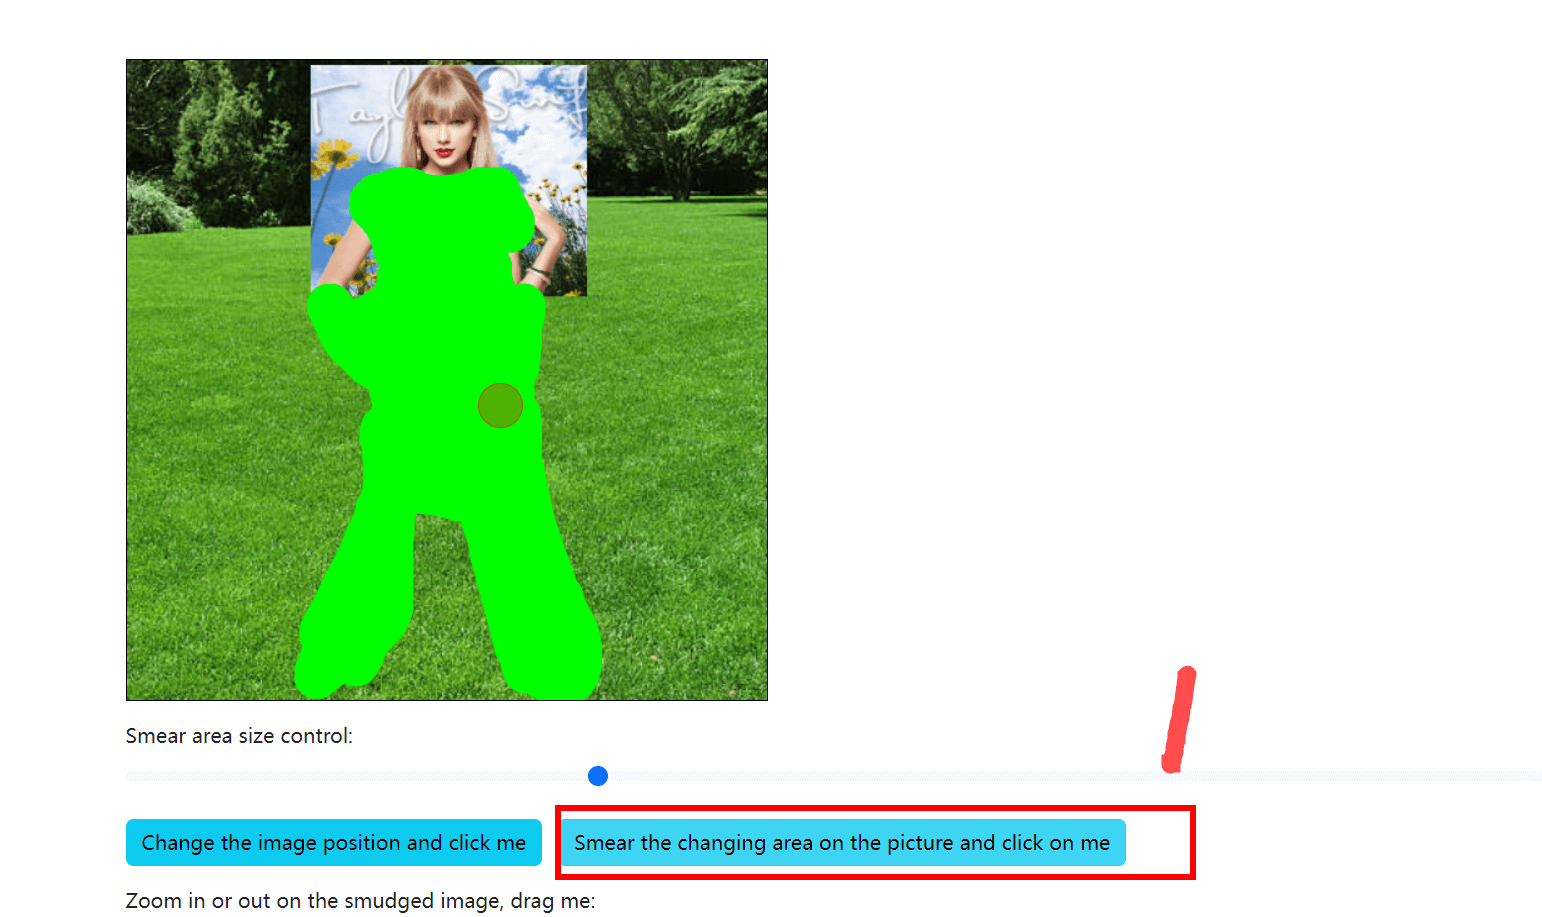
3.Transfer the previous image to the robot for processing, and the generated image will be used to complete the entire body
The same goes for completing the lower body
(However, it is worth noting that when filling in, remember to apply the upper part of the clothes together!
Then, for some connected parts, such as incomplete hands, green should also be applied at the connection points, so that Ai can fill in the missing hands. When applying, it can cover some of the hand areas to ensure consistency in skin tone!)
